 Technical Support
Cisco Unified Reporting (Phone Call Report)
Login to https://192.168.100.10
Navigation -> Cisco Unified Reporting
System Reports
 Technical Support
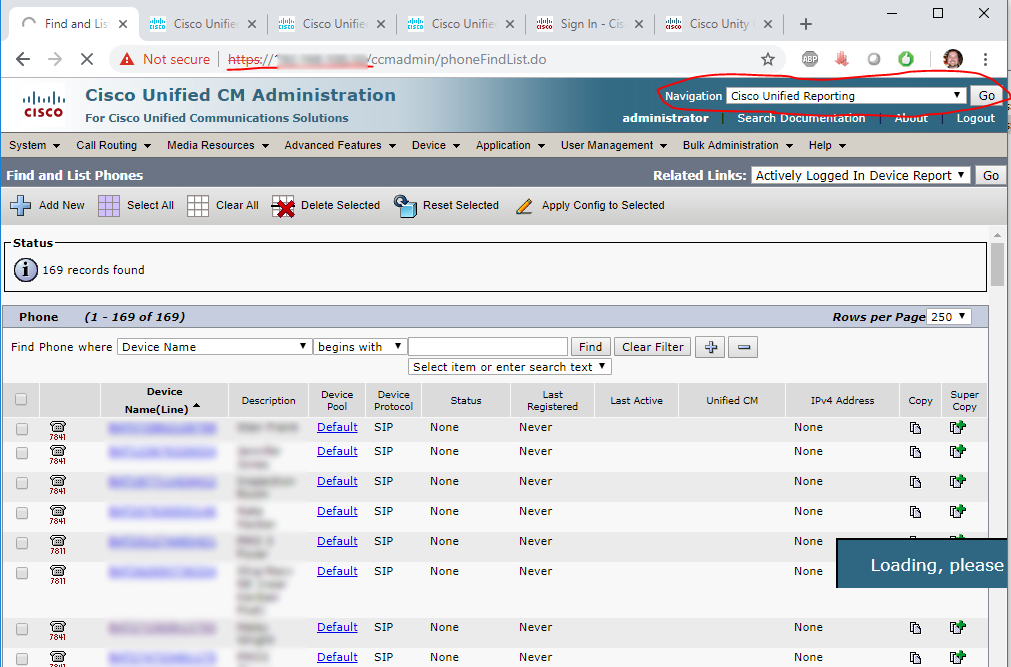
Login to https://192.168.100.10
Navigation -> Cisco Unified Reporting
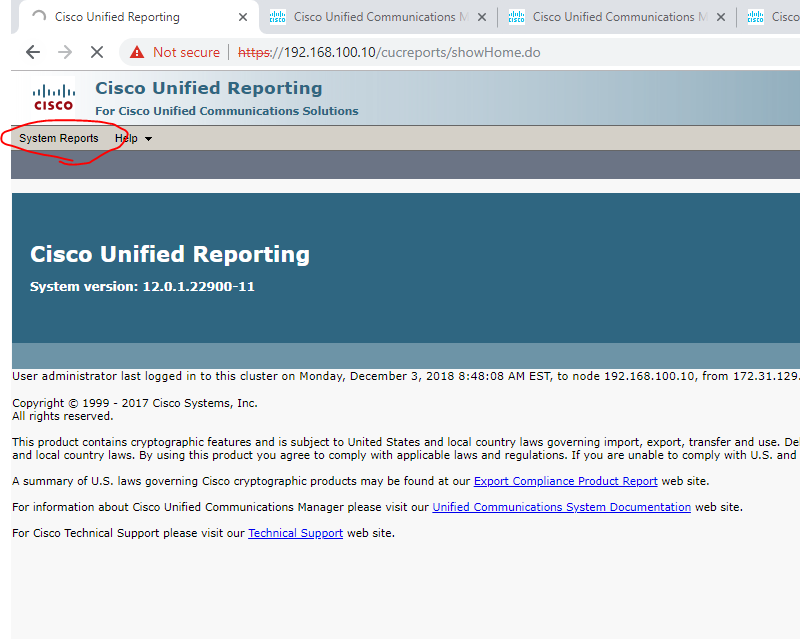
System Reports


 Technical Support
The tape backup procedure is conducted on Monday or Tuesday mornings. Weekly tape backups are picked up and stored offsite on Wednesday mornings, usually between 10AM and noon.
Identifying which tape will be replaced.


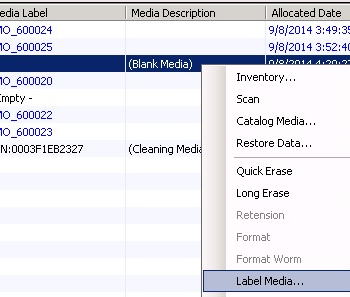
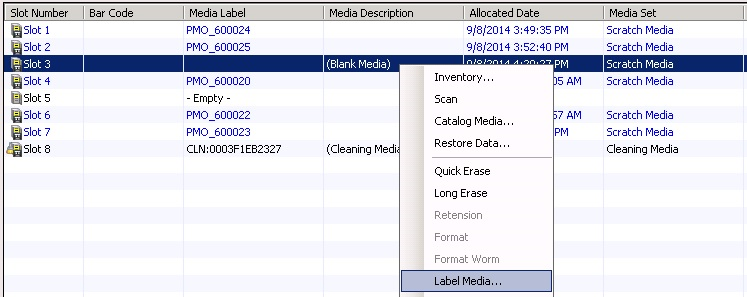
Slots 1-7 contain backup tapes. Tapes that have yet to be used (blank) will have purple text. Slot 8 will always have black text. The tape(s) that contain(s) backed up data and needs exchanging with a blank tape will be found in slots 1-7 and will have black writing. It will also usually have the lowest label number as indicated by the last two digits of the label in the media label column.
After you have identified which tape to replace, make a note of which slot the tape is located in. You will now physically replace the tape.
Physically replace the tape.
Physically replacing the tape has been completed. Return to your PC to complete the remaining steps.


On Wednesday morning, our offsite storage solution company will stop by to collect the weekly backup tape box. They will drop off a new metal box that contains a backup tape that has been stored offsite for 3 months. They will also provide two receipts, one to sign for them and our copy. Place our copy in the back of the backup log book. Remove the old tape from the metal box and place in the storage bin on the floor right next to the backup log book.
 Technical Support
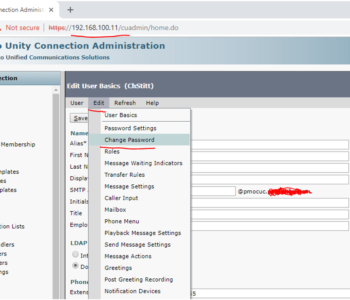
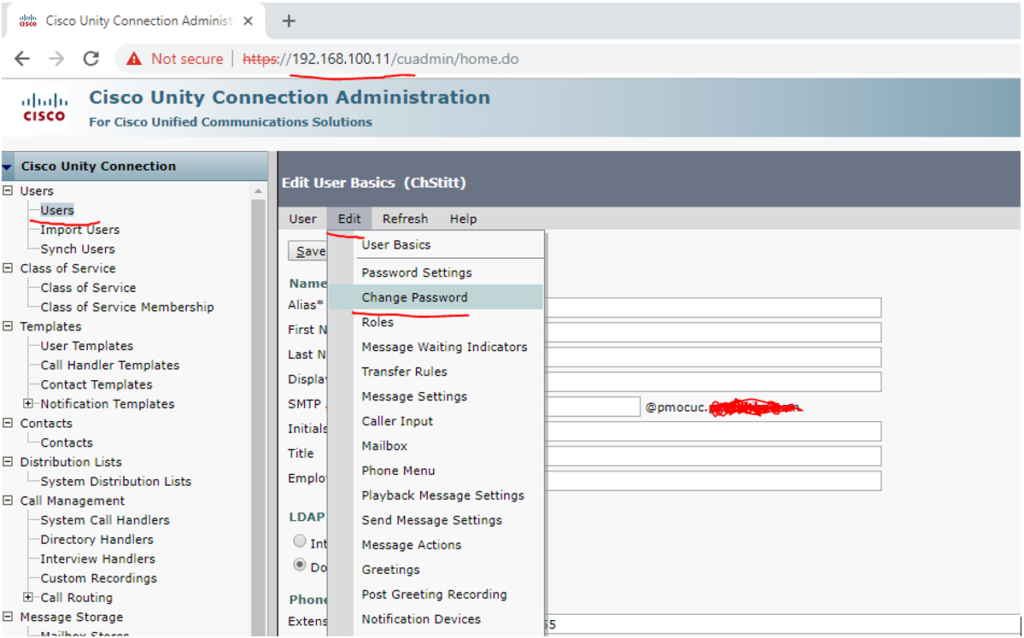
Login to Cisco Unity Connection (Voicemail Server)
https://192.168.100.11
Click Users -> Select User -> Edit -> Change Password
Enter new PIN (cannot be 12345)
 Technical Support
Change TWL Output file name from DAT to TXT
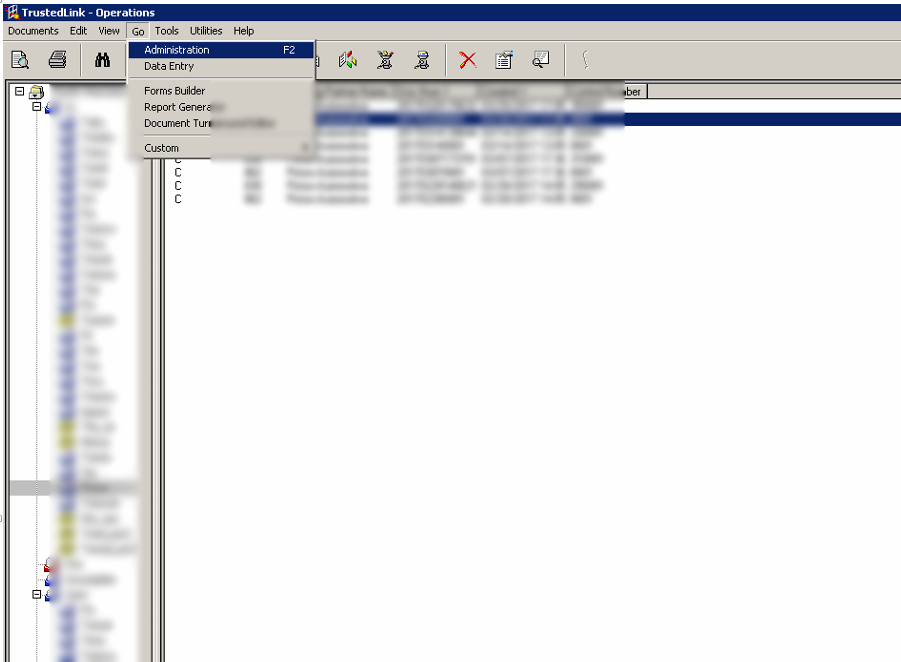
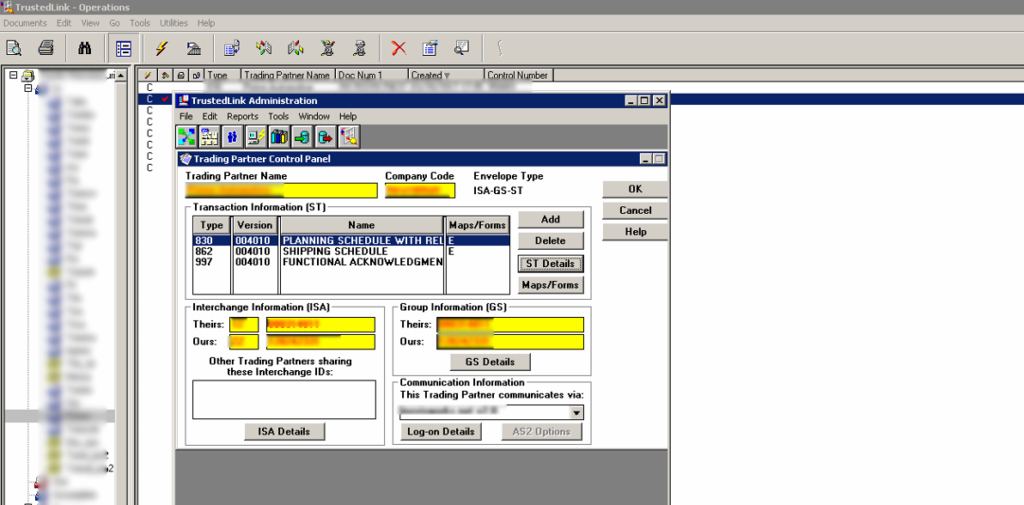
Open TLW (TrustedLink for Windows)
Click Administration
Click Trading Partners
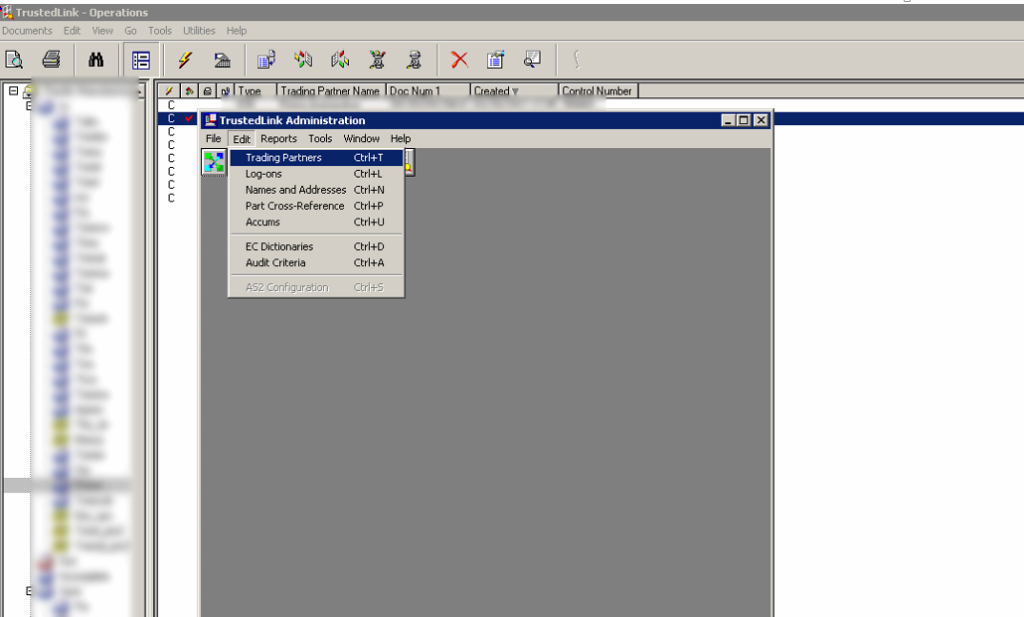
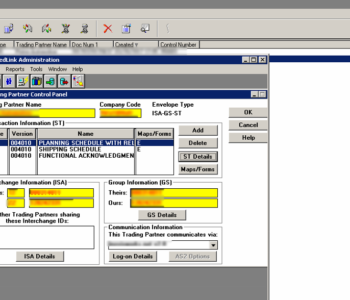
Select the Trading Partner
Select the Transaction Type (803, 862)
Click ST Details
Put in the Target Filename
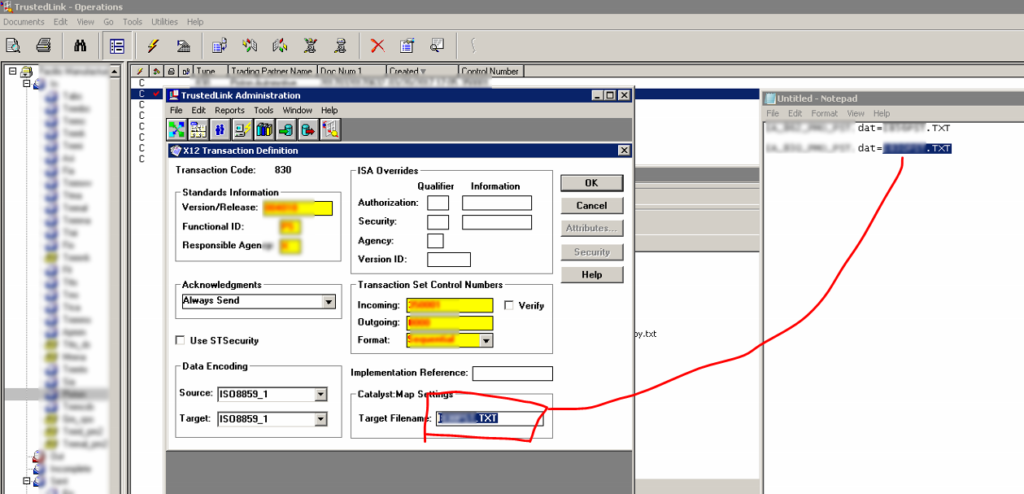
Click Okay
 Technical Support
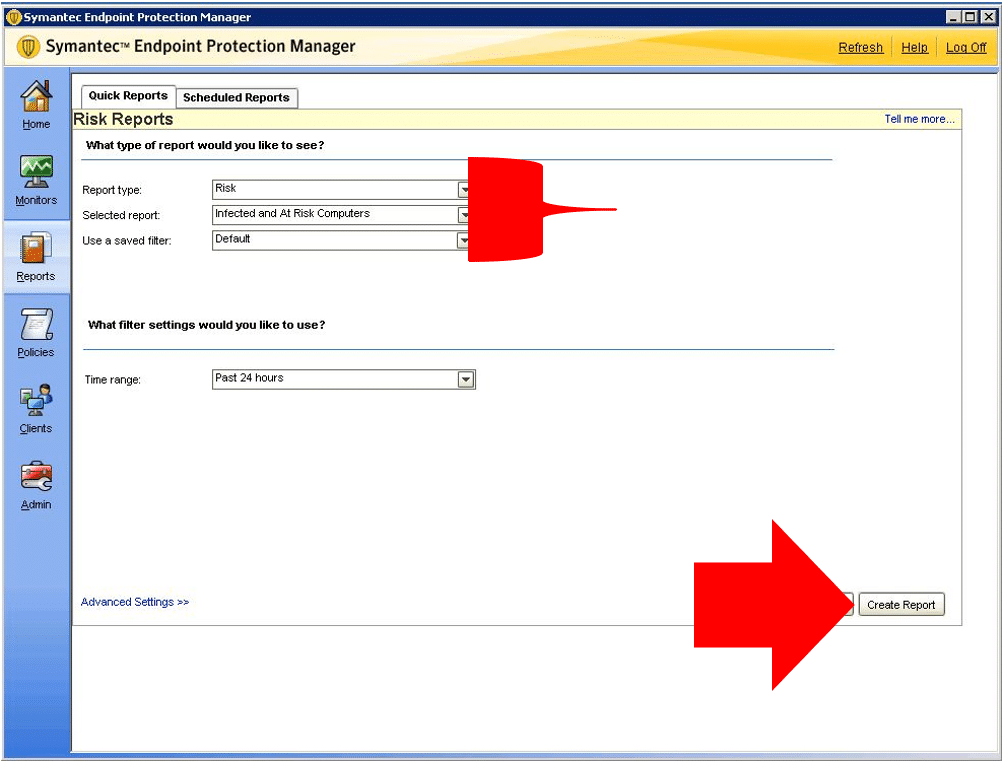
This guide is to create a report on the anti-virus server for JSOX/Internal.
Use your AD login accounts on PMBU1/Anti-virus database.
Step 1: Log into BackupExec Server.
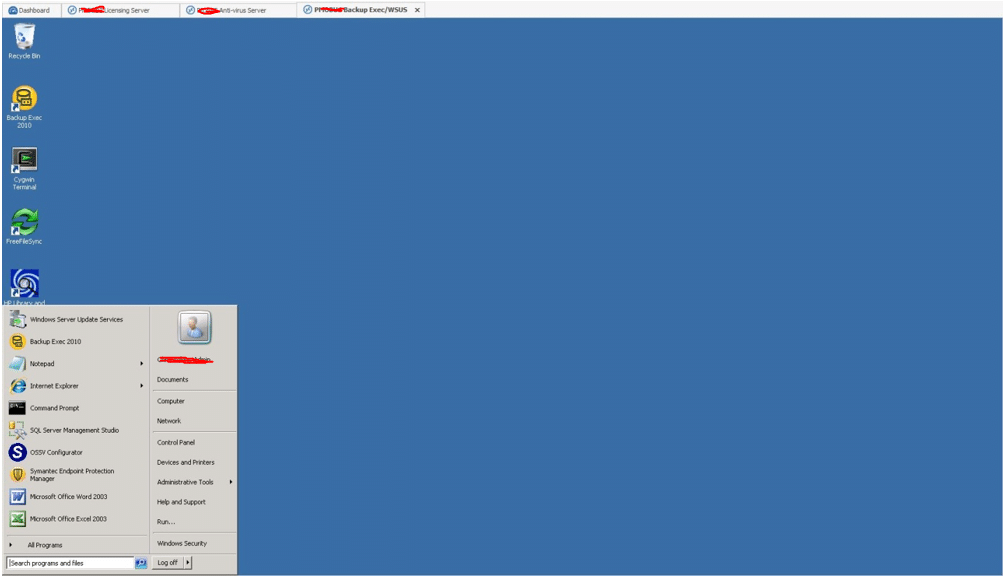
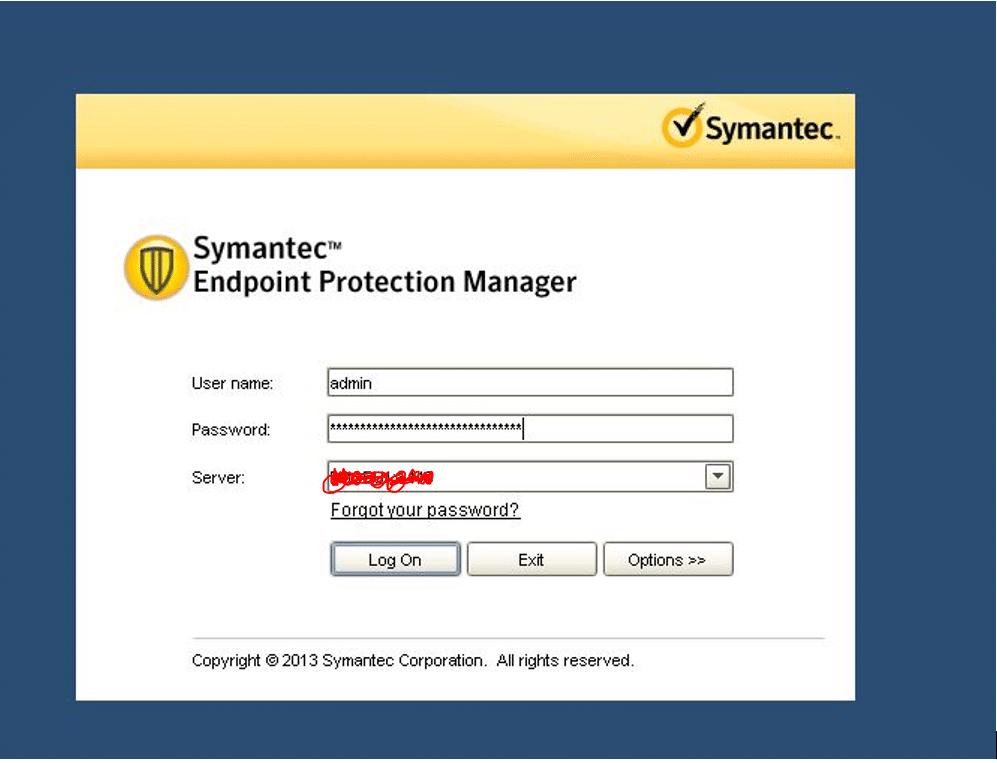
Step 2: Open up SEPM (Symantec Endpoint Protection Manager)

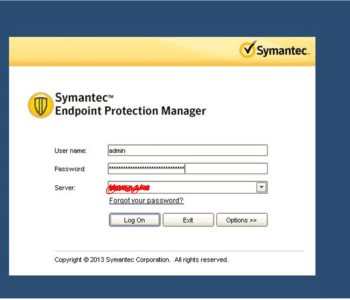
Step 3: Log into SEPM with the “admin” username and the really long password associated with it.
Step 4: Click on the “reports” tab.
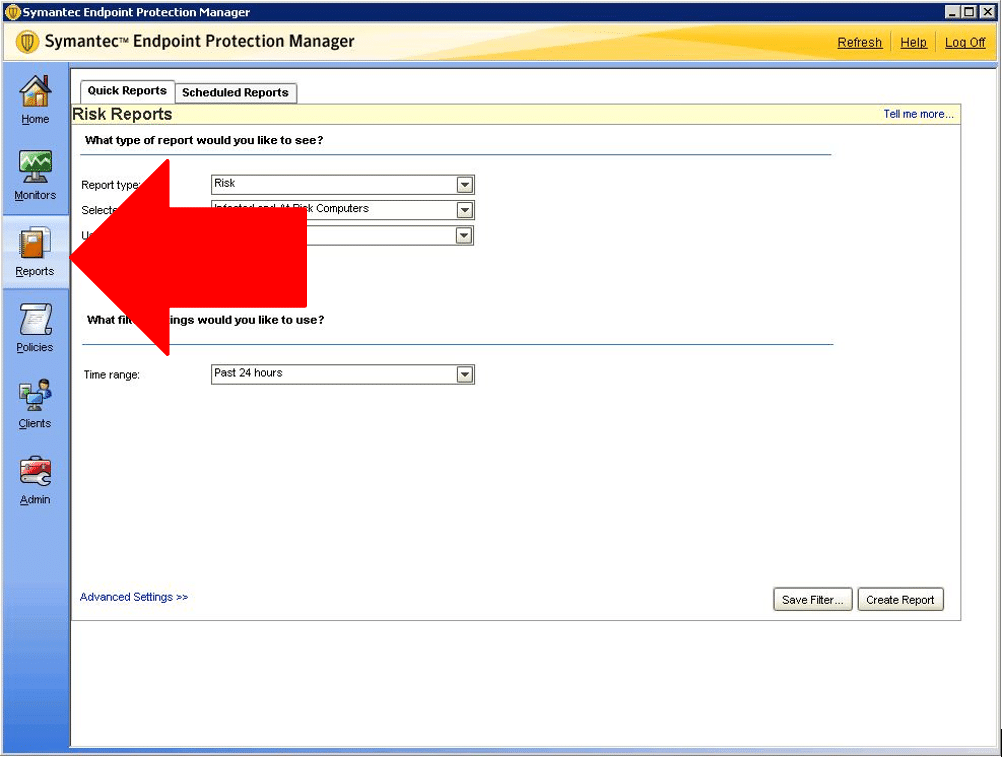
Step 5: This is where you’d choose your type of report. Last, you would just click create report after customizing the type of report.
